PrusaSlicer  Advanced 3D
Printing Made Simple
Prusa Slicer, a powerful open-source 3D printing slicer with G-code viewer. Start creating precise, error-free prints today! It is also a flexible software that works with multiple printers and softwares. Its simple design makes it easy to understand and use for all beginners.
Made Simple

 Multi-language support
Regular Updates
Print Customization
Multi-language support
Regular Updates
Print Customization
Powerful Features Built
for Better 3D Printing
Here are some unique features of the Prusaslicer. You must explore them all for a better understanding:
Different modes
It has a simple interface and different modes. These modes are easy, advanced, and expert. So, in this way, users of all levels can use this tool by selecting their specific mode. It allows beginners to use this software easily and professionals to have full control.
HiDPI support
This software is designed to be used on high-resolution displays. It is because its interface is optimized according to it, which ensures clear text and sharp visuals on modern screens.
Adaptive Infills
According to needs and designs, it also automatically adjusts infill density. This feature improves strength while saving material and print time.
G-Code Viewer
Many times, changes occur in the G-code that affect your final model. To avoid this problem, Prusaslicer offers a G-code layer and preview option. This option allows you to preview G-code layer by layer, which helps detect errors before starting the print.
Automatic repairing
The Prusa has an advanced error-detection and correction tool. During slicing, if any error happens, it corrects and adjusts it automatically.
Print Controls
Prusa tool gives you full control of every setting of your print. You can easily adjust layer height, print speed, and temperatures.
Multiple Devices Compatibility
One of the best features of Prusa 3D slicer is that it is compatible with different operating systems. You can install it on Windows, Linux, macOS, and other platforms easily and use it.
Download Prusa Slicer
2.9.3For Windows
-
Operating System: 64-bit Windows 7 or newer (Windows 10+ recommended)
-
Processor: Multi-core Intel/AMD processor (e.g., Intel Core i3 or similar)
-
Memory: At least 4 GB RAM (Recommended 8 GB+)
-
Graphics: OpenGL 2.0 compatible (for 3D preview)
-
Storage: At least 500 MB of free space (installer ~95-100 MB)
-
Size: ~95–100 MB installer
For Mac (Apple Silicon)
-
Operating System: macOS 10.11 (El Capitan) or newer (10.12+ typical)
-
Processor: Intel or Apple Silicon (Universal build)
-
Memory: At least 4 GB RAM (Recommended 8 GB+)
-
Graphics: OpenGL 2.0 compatible (for 3D preview)
-
Storage: At least 500 MB of free space (installer ~130–140 MB)
-
Size: ~130–140 MB installer
How to Download and Install
Prusa Slicer? [Complete Guide]
Download Steps
On our site, you will find download links for different systems. Choose your preferred operating system (Windows, macOS, or Linux) to download.
Installation Steps
Run the .exe installer on Windows, On Mac, Double-click the .dmg to open the installation window. On Linux, open the terminal, navigate to the file location, and run: chmod +x PrusaSlicer-
Launch Prusa Slicer
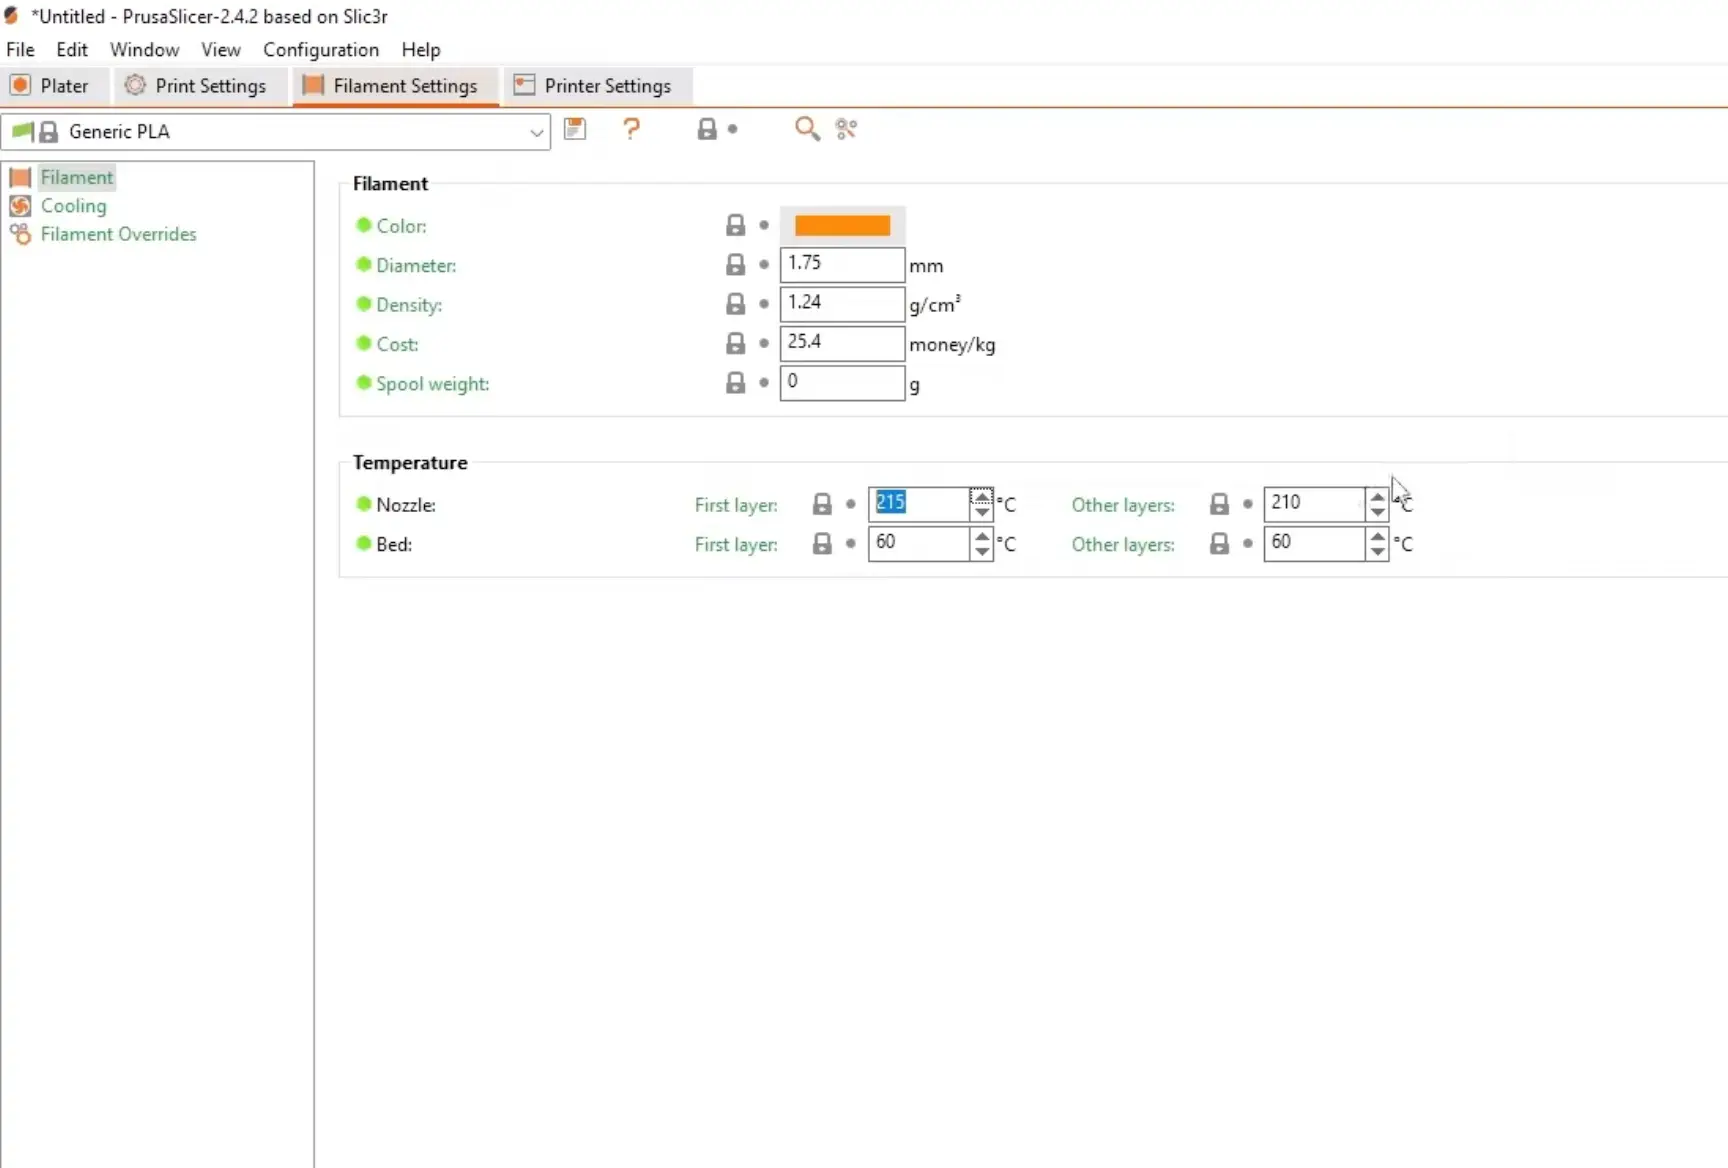
Now, choose your Prusa or any other printer profile. You can also set up a new custom printer. Next, select a filament profile or create your own for the material you are using. Import your 3D model and then adjust its position, scale, and rotation on the print bed.
How to Use Prusa Slicer
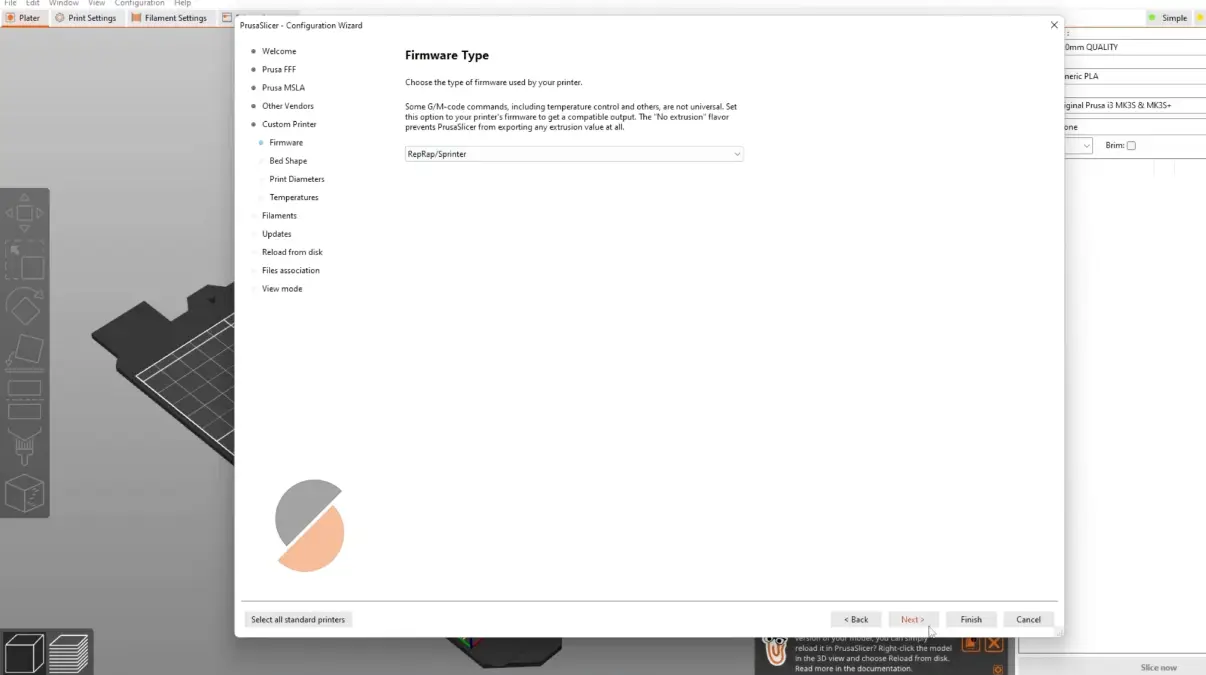
Install & Setup
Install and open the Prusa Slicer to start the startup essential settings. Now, choose your Prusa or any other printer profile. You can also set up a new custom printer. Next, select a filament profile or create your own for the material you are using. Now select the print mode according to your experience level.
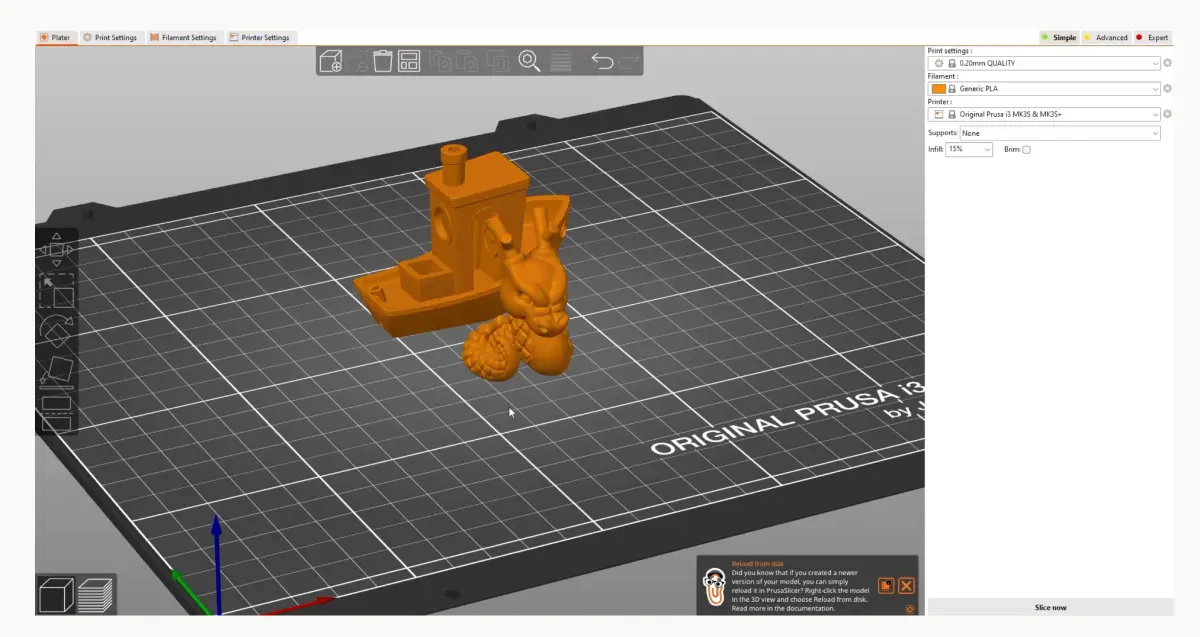
Import & Arrange Model
Import your 3D model and then adjust its position, scale, and rotation on the print bed.
Configure & Slice
Set the layer height, infill, perimeters, and supports to prepare for printing. Next, click Slice to generate the G-code and preview the layers before saving them to your printer.
Print & Finish
Now, load the filament, start the print, and remove supports when finished. In the end, do sanding, polishing, or post-curing if needed.
Prusa Slicer Getting Started Guide:
The Slicer For All Your 3D Printers
Frequently Asked
Questions
Yes, Prusa 3d Slicer supports multi-bed printing setups. You can have 9 virtual print beds to handle complex projects.
Yes! This 3D printer software has a built-in shape gallery. It helps in the easy insertion of common geometric shapes and models.
Yes! It supports both FDM and SLA 3D printers with different settings options.
Conclusion
For the expert 3D printers who are looking for simple and advanced 3D printing software should use the Prusa slicer. The latest version of Prusaslicer has many amazing features like customization options, different profile options, advanced settings and more. You should also use it if you are searching for high-quality 3D printing software.